Polishing can improve some very fine defects in paint that’s suitable for it. It can’t put missing paint back, reattach a lifting layer or promise that every scratch disappears. Cleaning or a filling product can also make a mark less noticeable, but that isn’t the same as the defect actually being removed.
Start by describing what you see and identifying the surface before reaching for more treatment. A fine-looking line isn’t automatically safe to chase, and a dramatic photo can’t tell you how deep a mark is. Sometimes the sensible result is a better overall look with a mark still visible; sometimes you need a repair assessment instead.
Describe what you see, not how deep you think it is
You don’t need the technical name for a defect. Describe where the mark is, when you notice it and what happened before it showed up.
Scroll to see all columns.
| What you see | What to note | What to do next |
|---|---|---|
| Many fine, web-like lines around a reflected light | Which panel, whether they cover a broad area, and the lighting when you saw them | Call them swirl-like marks and ask for an assessment, without assuming they’re all the same depth. |
| One isolated line or scuff | Where it is, roughly how long it is, and anything you know happened | Send an overview and a close-up. Don’t guess which paint layer it reached from its color. |
| A smear, spot or rough-looking area | Recent washing, exposure and products used | Explain what’s left after any cleaning the finish allows. Don’t pick a stronger chemical based on looks alone. |
| A lifting edge, flaking area or what looks like missing material | Where it starts, and any known repair, coating or film history | Leave it alone and ask for a material or repair assessment before anyone handles it further. |
A white-looking line doesn’t by itself mean primer is showing, and a lifting-looking edge could be paint, film or another material. Don’t treat a photo or a fingernail test as a green light to keep abrading the surface.
If roughness or residue is your main concern, that’s a separate decision, covered in our guide to decontamination versus polishing.
Cleaning, filling and polishing do different things
Cleaning deals with material on the surface. Removing grime can reveal what’s underneath, but it won’t tell you whether a remaining line is a removable scratch. The Tesla Model 3 manual, for example, starts exterior washing by flushing away grime and grit before any contact washing (Tesla Model 3 cleaning guidance).
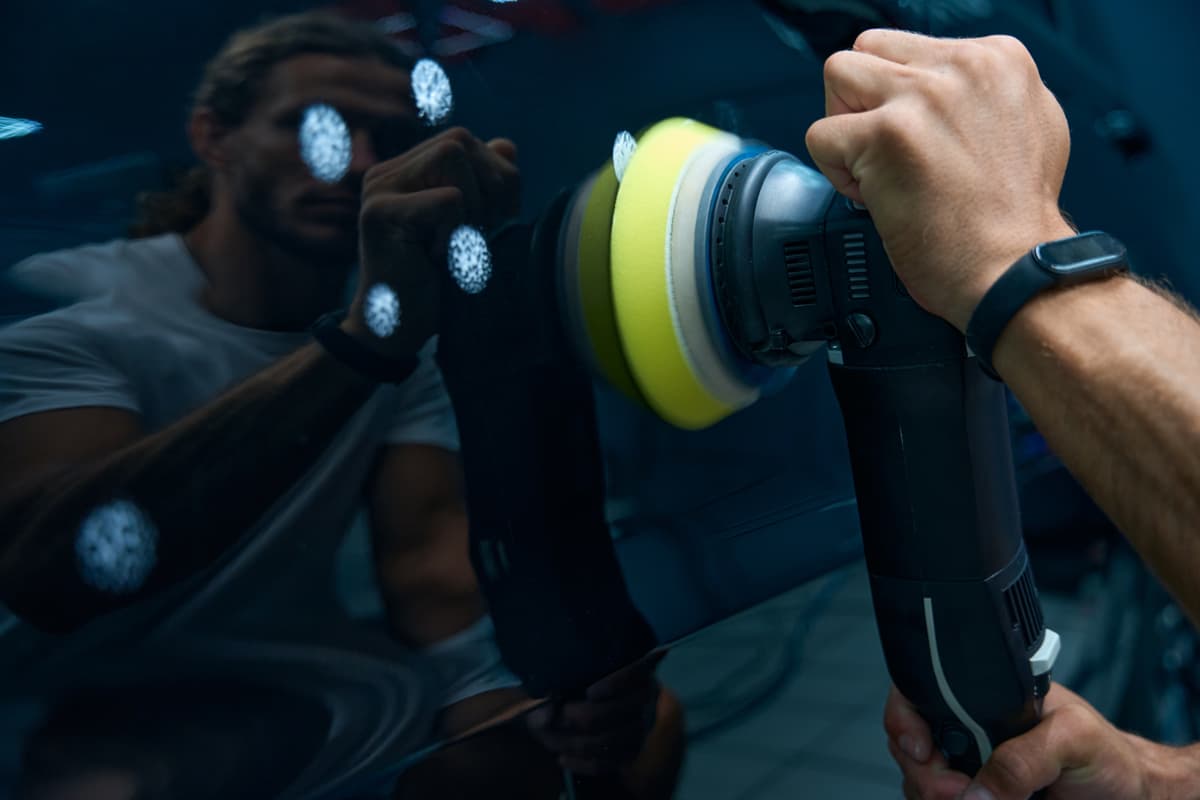
Abrasive polishing works on the finish itself. RUPES describes UNO PURE as an ultra-fine abrasive polish for extremely fine defects and finishing, with no intentional filling ingredients (RUPES UNO PURE technical sheet).
Filling can make a scratch less visible. Tesla’s approved-polish guidance separately describes very mild abrasive, filling compounds and wax, and it describes filling as making scratches less visible (Tesla paint-care guidance). So a product called “polish” may not work in just one way. The same manual warns against cutting pastes and harsh abrasive polishes, so follow the instructions for your actual car and product.
So ask what kind of improvement is being proposed and what’s expected to remain. Better gloss, a less noticeable mark and a defect that’s physically gone are three different results.
Three reasons a mark can look better
Scroll across to compare all columns.
| Action | What it means | Limit |
|---|---|---|
| Cleaning | Removes grime or material sitting on the surface | A remaining mark still needs assessment. |
| Abrasive polishing | Works on a suitable finish to improve some defects | Suitability and possible improvement need assessment. |
| Filling | Makes a scratch less noticeable | Less visible does not mean physically removed. |
Missing or lifting paint is a repair conversation
Polishing doesn’t replace paint. PPG describes confirmed clearcoat delamination as a loss of adhesion to the basecoat and points that condition toward refinishing (PPG clearcoat-delamination guidance).
If material looks like it’s lifting, flaking or missing, stop trying to improve it cosmetically and get the actual surface assessed. Don’t rub or scrub a fragile edge just to get a sharper photo. Mention any known repainting, film, coating or unusual finish, and if you don’t know the history, just say so.
How to take photos that actually help
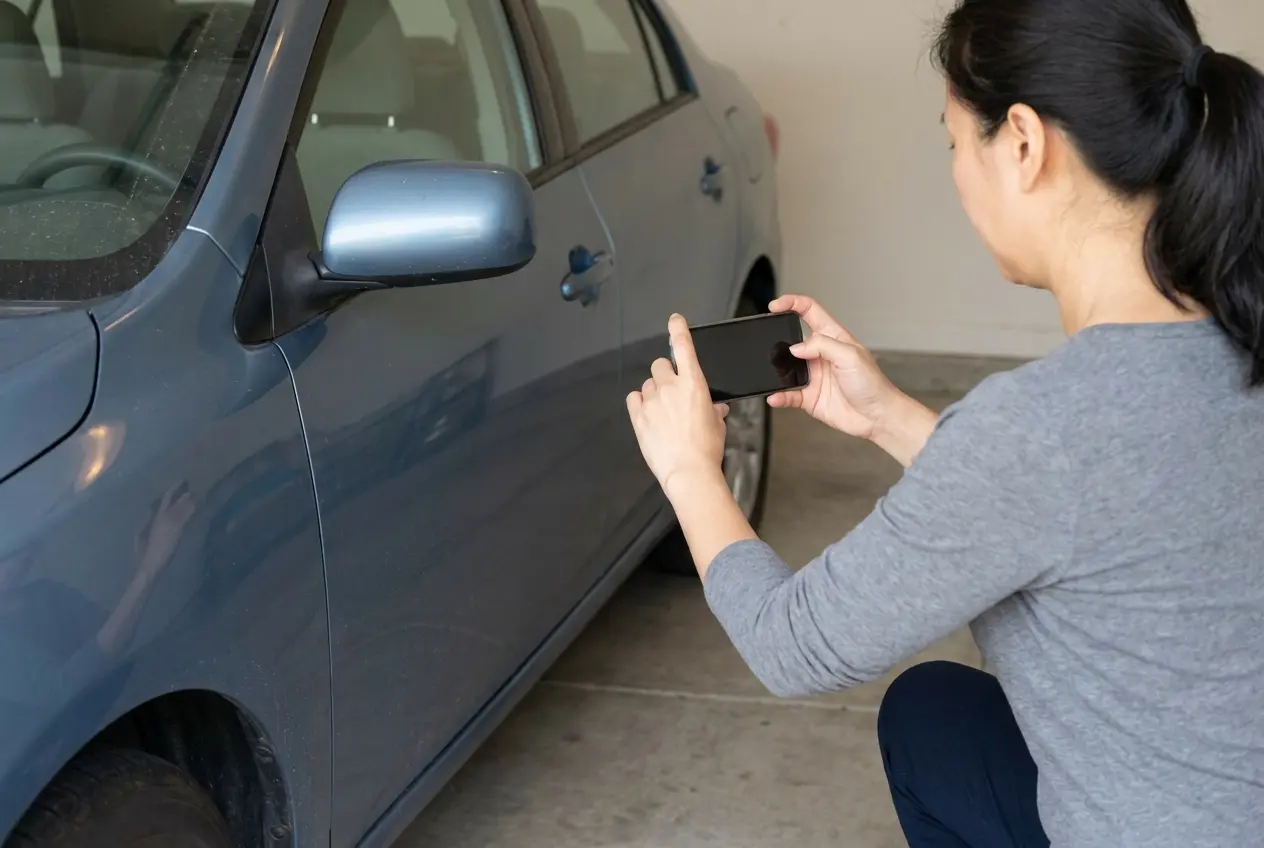
If the surface is intact and its instructions allow it, cleaning it first makes photos more useful. If it’s damaged, lifting or unidentified, ask about handling first. You don’t have to try another treatment before you can ask for an assessment.
Las Vegas winds can carry blowing dust and sand (NWS Las Vegas climate overview). For photos, that means picking a calm moment and skipping the quick dry wipe to make a panel look better.
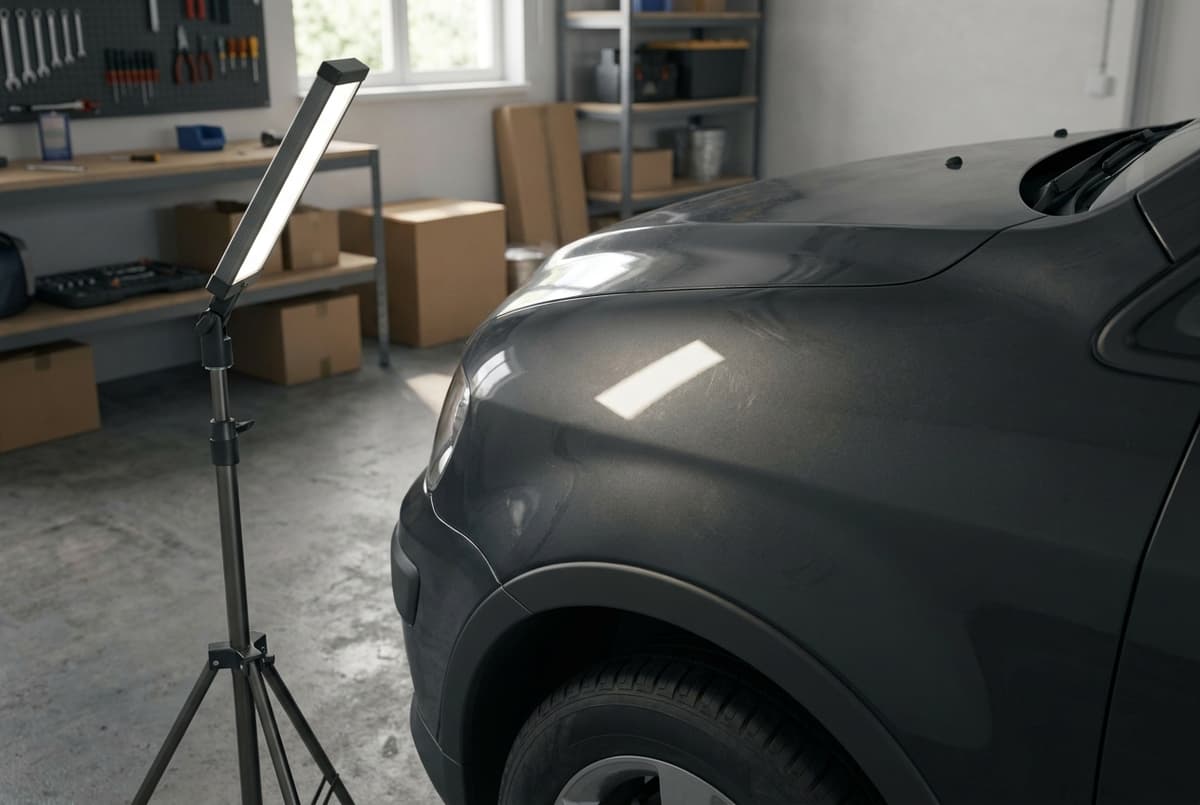
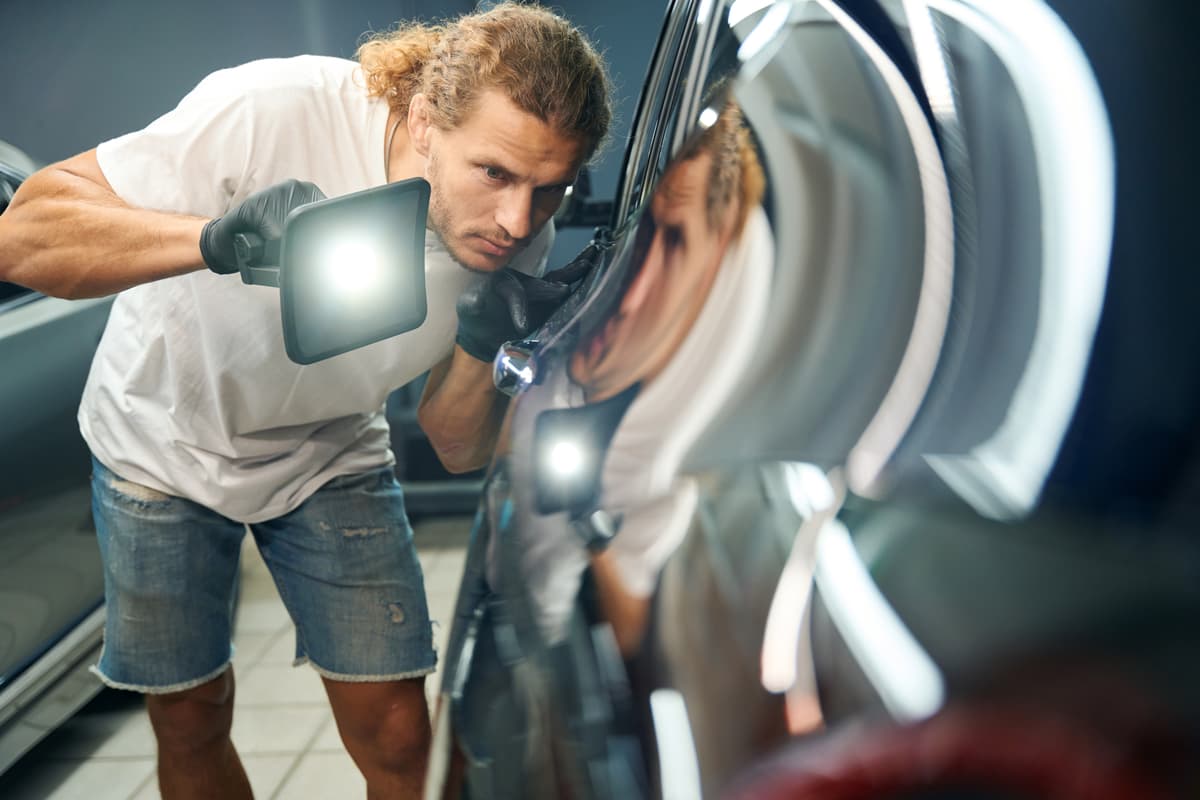
Take three views when you can: an overview that shows which panel, a focused close-up, and a separate photo from another angle or in different light. Keep the original files, skip beauty filters, and mention whether the panel was wet, dirty or recently treated. Grizzly’s polisher guidance calls for inspecting with light from different angles (Grizzly T33305 manual, printed page 16), so one flattering reflection shouldn’t settle the question.
Photos should locate the concern
Start with an overview
Show the panel and where the concern sits on the car.
Add a close detail
Move closer to show the affected area clearly.
Try another angle or light
Add another view without touching or treating the mark to investigate.
Keep the context
Keep original files and note the panel, lighting and known history.
Say what you’ve already tried
If repeated treatment hasn’t helped, or the mark looks different afterward, stop before trying something stronger. Note the exact products, whether you applied them by hand or machine, and when. The history helps the provider decide what to inspect.
Here’s a hypothetical example of a useful message:
There’s an isolated line on the driver-side front door and finer web-like marks nearby. I notice them most in direct light. I used a hand-applied scratch product last weekend, and the line is still there. I can send the product name and the original photos. Repair and coating history are unknown. I’d like the overall appearance improved, but I’m open to discussing marks that should be left alone.
From there, the question is which assessment to ask for: suitable cleaning for what might be a surface deposit, correction for finish defects that might improve, or a material or repair assessment for apparent damage or anything uncertain.
Which assessment should you request?
Surface residue is the concern
Ask about compatible cleaning. Do not choose a chemical from a photo.
Finish marks are the concern
Ask whether correction is appropriate, what may improve and what may remain.
Material looks missing or lifting
Ask for material or repair assessment before more handling, rather than chasing a cosmetic fix.
Once a process is proposed, compare its scope and limits with our guide to paint-correction quotes. A newly delivered car also deserves an inspection-led prep decision rather than an automatic polishing upgrade, as our new-car preparation guide explains. And for judging how well a provider explains a recommendation, see our guide to choosing a detailer for a luxury car.
Ask ZNT about a correction assessment
ZNT’s published Paint Correction service includes multistage polishing, decontamination and clay treatment (ZNT service overview). Its terms say plainly that correction can’t fix every imperfection or damage, and that results vary with condition and previous maintenance (ZNT result limitations).
Contact ZNT about the marks and the result you’re hoping for. Include the vehicle, which panels are affected, useful photos, any known history and your location. Ask whether a correction assessment fits the problem, or whether a separate repair assessment is needed.